There’s a common assumption that you need advanced carpentry skills to build a dog house. That’s simply not accurate. Knowing how to build a dog house is a practical skill most handy homeowners can manage in a weekend. If you want to build a dog house that actually serves your pet, the design matters more than the tools. Dog house diy projects fail most often because of poor sizing, not poor technique. Build dog house frames too large, and the space won’t retain warmth. Too small, and the dog can’t turn around comfortably. An easy dog house is achievable with basic materials, some planning, and a clear set of steps.
Another myth: a raised platform is optional. It’s not. Direct ground contact causes moisture to wick into the floor, rotting the wood and chilling the interior. Elevation of even two to four inches makes a measurable difference in durability and comfort.
Materials and Tools You Need
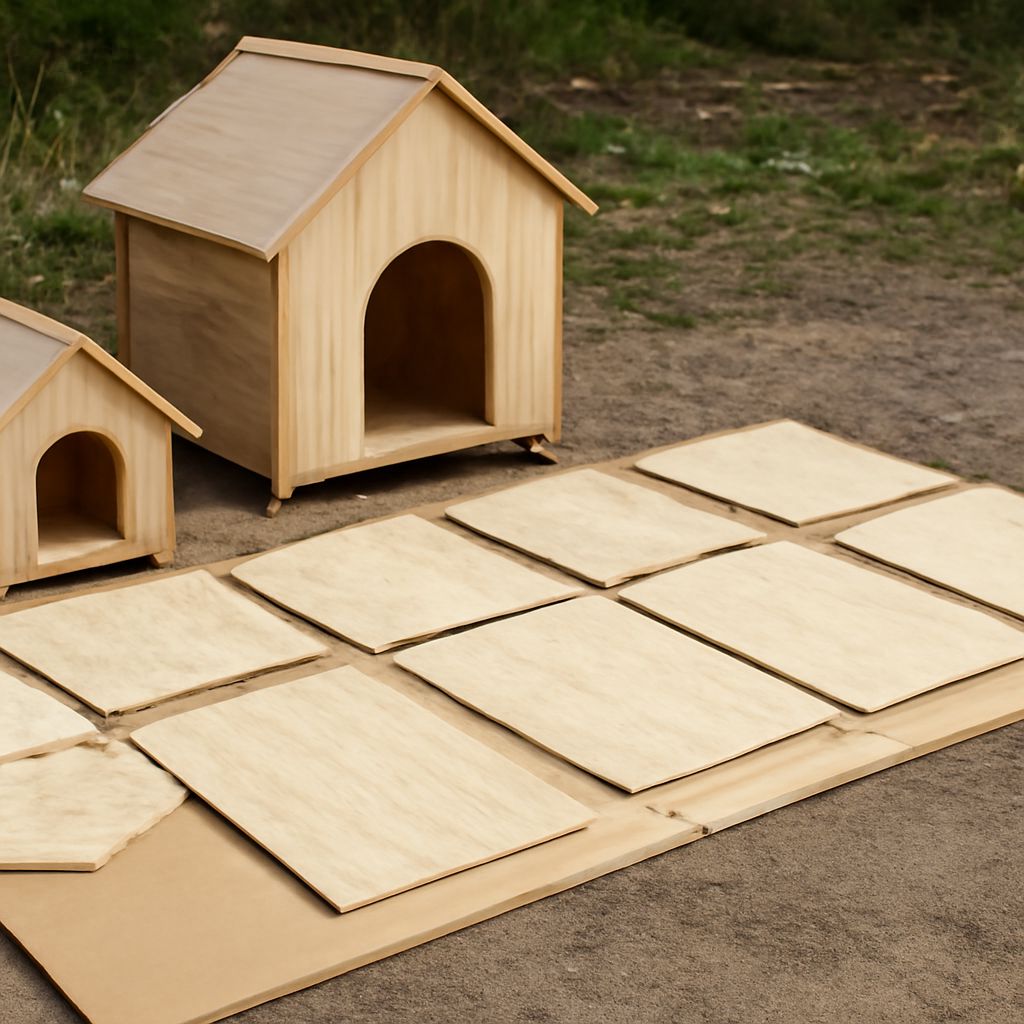
Lumber and Sheet Goods
Standard pressure-treated 2x4s handle the frame and floor base. For exterior walls, exterior-grade plywood rated for outdoor use holds up to rain and temperature swings. The roof gets its own panel cut to overhang on all sides by at least two inches to direct water away from the entrance.
Fasteners and Finishes
Use exterior-rated screws throughout. Nails work but back out over time with wood movement. A pet-safe exterior paint or sealant protects the wood from UV damage and moisture. Avoid paints with VOC levels high enough to affect animals; water-based formulas are safer once fully cured.
Insulation
For cold climates, rigid foam insulation panels cut to fit between studs raise the interior temperature significantly. Foil-faced boards reflect heat back inside. Do not use fiberglass batting; dogs often chew or scratch through it.
Step-by-Step Build Process
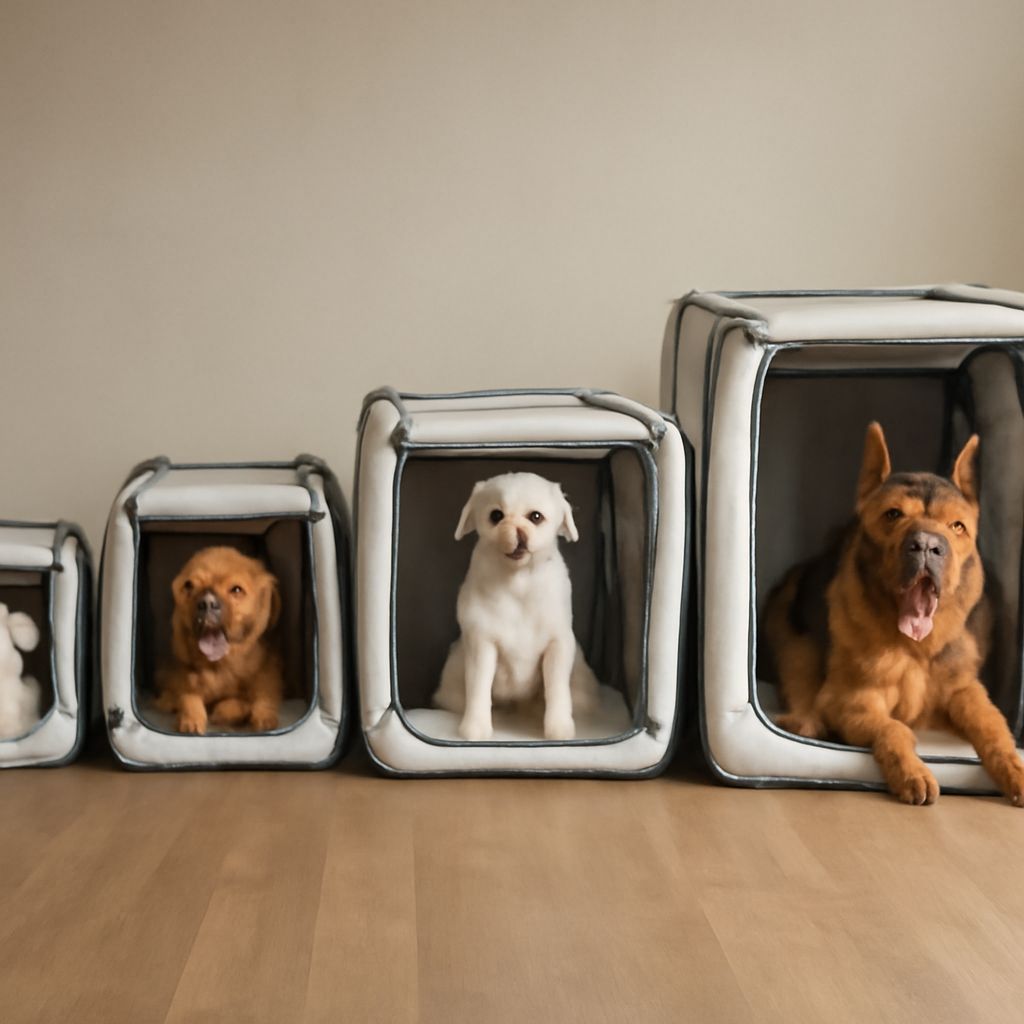
Sizing the Structure
The interior height should allow the dog to stand fully upright. Width and depth should let the dog circle once and lie down with room to stretch. Measure your dog from nose to tail base, add about twelve inches, and use that as your floor dimension. The entrance opening should be sized so the dog can enter without crouching uncomfortably, roughly two-thirds of the dog’s shoulder height.
Building the Frame and Floor
Cut your floor base from pressure-treated lumber and attach legs to raise it off the ground. Lay your plywood floor panel on top. Build four wall frames separately, then attach them to the floor and to each other at the corners. The front wall gets the entrance cut before assembly is easier.
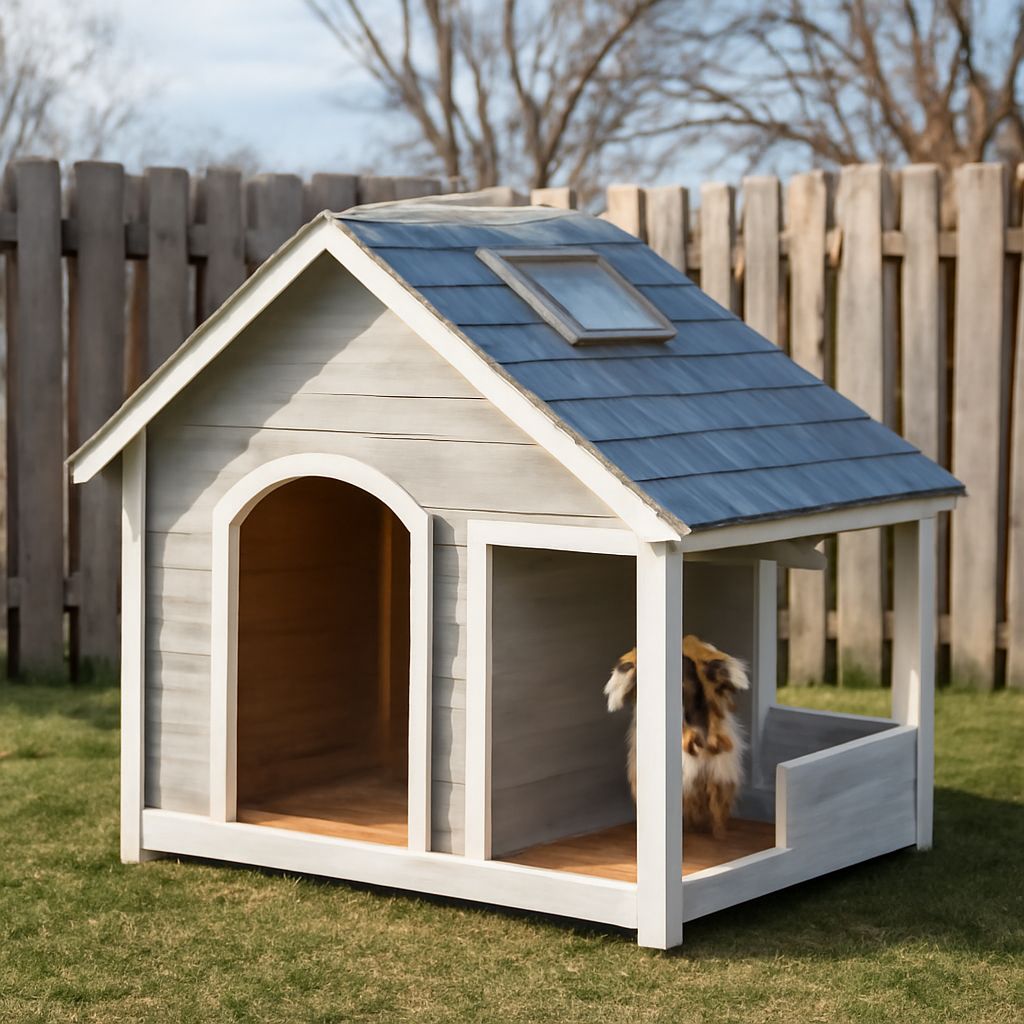
Adding the Roof
A simple shed-style roof angled to the rear works well for a dog house diy build. Attach the roof panel to the top plates and secure it with exterior screws. Apply roofing felt and shingles for maximum weather resistance. Asphalt shingles are cost-effective and durable.
Finishing and Safety Checks
Sand all interior edges smooth. Check for exposed screw points that could catch skin or fur. Apply two coats of pet-safe sealant to exterior surfaces. Let it cure for 48 hours before placing bedding inside. Add removable bedding such as cedar chips or a washable mat rather than fixed padding, so you can clean the interior easily.
Key takeaways: Build dog house projects succeed with correct sizing, elevated floors, and weather-resistant materials. A well-executed easy dog house keeps your pet comfortable through rain and cold without requiring professional skills. Follow the basic steps, use outdoor-rated materials, and the structure will last years.