How to Clean a Dog Wound at Home: A Step-by-Step Guide
Knowing how to clean a dog wound correctly can prevent infection and speed healing. The instinct to pour hydrogen peroxide on a cut is common, but that’s one of the worst things you can do — it damages healthy tissue and slows recovery. How to clean dog wound injuries properly means using saline or diluted chlorhexidine, not harsh household antiseptics.
Not every wound needs a vet visit, but many do. How to clean a wound on a dog is a first-aid skill, not a replacement for professional care. Deep punctures, wounds that won’t stop bleeding, injuries near the eye or joint, and bites from other animals all need veterinary evaluation. For minor scrapes and surface lacerations, home care done right makes a real difference.
Supplies You Need Before You Start
Gather everything before touching the wound. Moving around mid-clean stresses the dog and risks contamination. You’ll need:
- Sterile saline solution or a diluted chlorhexidine wash (0.05% concentration)
- Clean gauze pads or non-stick wound pads
- Blunt-tipped scissors to trim fur around the wound
- Disposable gloves
- A second person to help restrain the dog if needed
Skip cotton balls — the fibers stick to wounds. Avoid alcohol and hydrogen peroxide entirely. These are standard steps in cleaning dog wounds by any veterinary first-aid protocol.
Step-by-Step Cleaning Process
Step 1: Restrain Calmly
A dog in pain can bite even a trusted owner. Work calmly and speak in a low, steady voice. If the dog is very agitated, a makeshift muzzle from a leash or soft cloth keeps both of you safe. Avoid physical restraint that causes more distress.
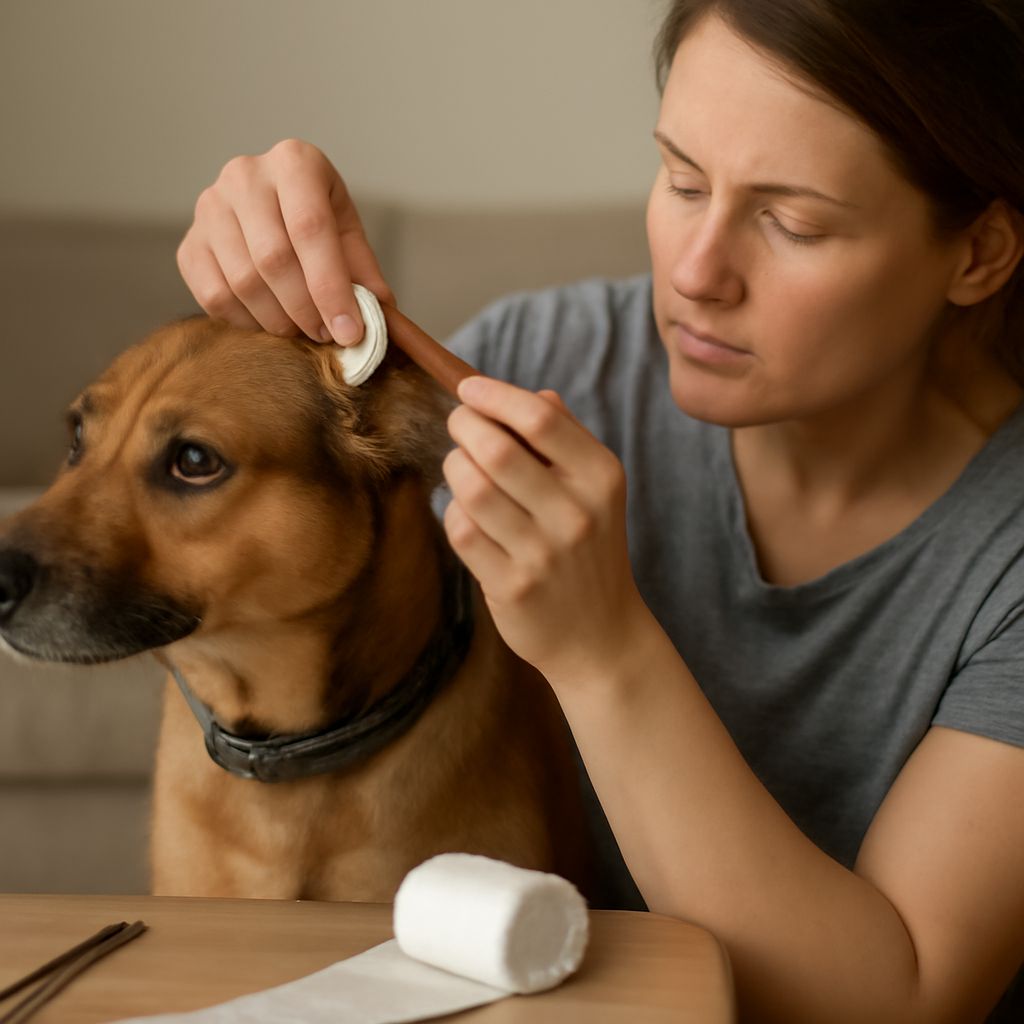
Step 2: Trim Surrounding Fur
Hair around the wound traps bacteria and interferes with bandaging. Use blunt scissors to trim a small margin around the injury. Apply a small amount of water-based lubricant to the wound first — this catches stray hairs and keeps them out of the site during trimming.
Step 3: Flush with Saline
How to clean a wound on a dog effectively comes down to irrigation pressure. Use a 10 ml or 20 ml syringe (no needle) to flush saline through the wound. This removes debris without forcing contamination deeper. Repeat until the flushed fluid runs clear. This is the core of treating dog wounds at home correctly.
Step 4: Apply a Light Dressing
For wounds that are still seeping, apply a non-stick pad and secure loosely with self-adhesive bandage wrap. Do not wrap too tight — you should be able to slide two fingers under the bandage. Change the dressing daily and monitor for signs of infection: swelling, discharge, heat, or a bad smell.
When Home Care Is Not Enough
How to treat dog wounds at home has real limits. Any wound deeper than a surface scrape, any bite wound, and any injury showing signs of infection within 24 hours requires veterinary care. Puncture wounds from teeth or nails are especially deceptive — the surface may look minor while deeper tissue is already contaminated.
A vet may prescribe antibiotics, debride necrotic tissue, or place a drain in serious cases. Home wound cleaning is appropriate for minor injuries only. When in doubt, call your vet before treating.
Safety recap: Use sterile saline or diluted chlorhexidine — never hydrogen peroxide or alcohol — when cleaning dog wounds at home. Flush thoroughly with a syringe, cover lightly, and monitor daily. Consult a veterinarian for any wound that is deep, infected, or not improving within 48 hours.