DIY Dog House: How to Build One That Actually Works
Building a shelter for your dog at home sounds like a weekend project, but a DIY dog house that fails structurally or provides poor insulation wastes both materials and time. Most guides on how to make a dog house skip two things that matter most: sizing the interior correctly for the specific dog and selecting materials that handle outdoor conditions over multiple seasons. Getting those two decisions right before cutting a single board is what separates a shelter that gets used from one that gets ignored.
How to build a simple dog house does not require carpentry expertise, but it does require a plan. Knowing how to build a dog house cheap is useful too — lumber costs add up fast — but cost-cutting on insulation or roofing defeats the purpose. DIY dog houses built from untreated wood without a weatherproof exterior deteriorate within two to three seasons. This guide covers what to plan, what to build, and what materials hold up.
Planning and Sizing
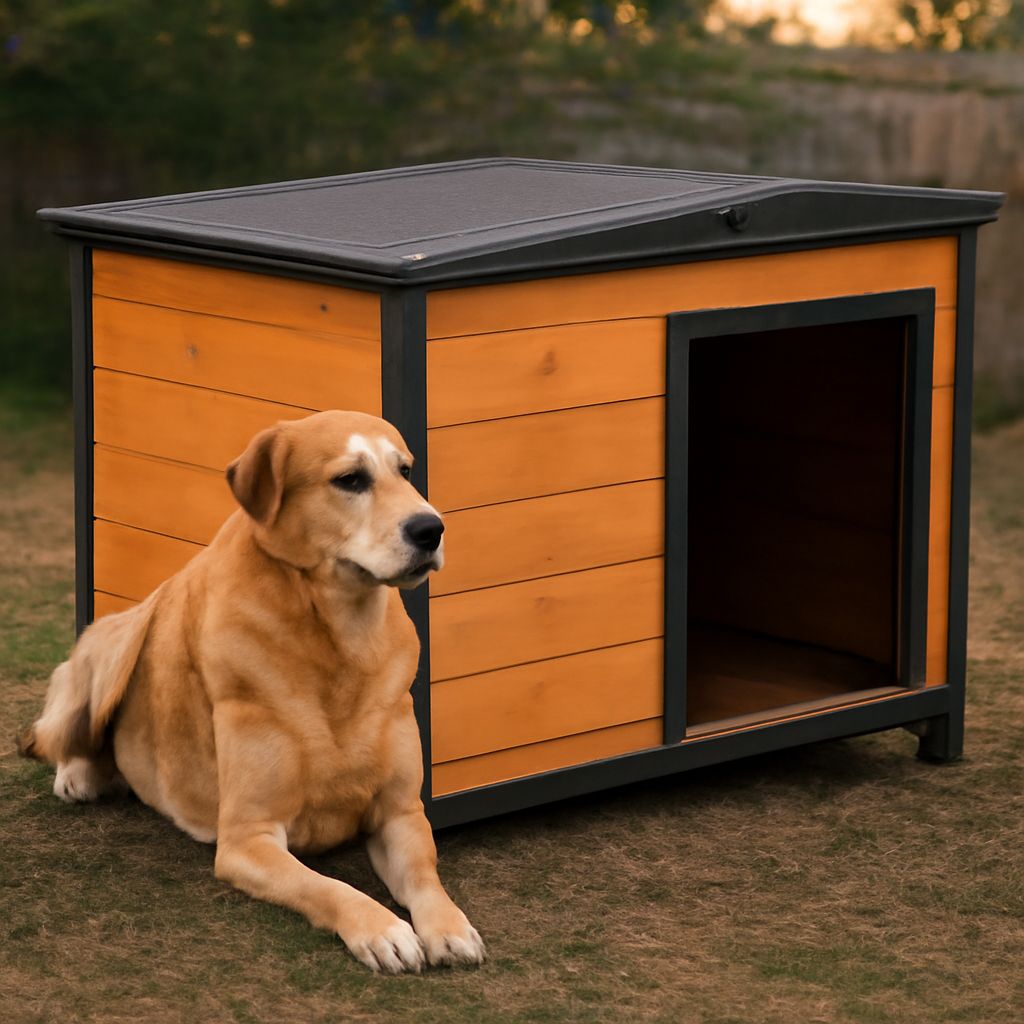
Measure your dog from nose to base of tail. The interior floor length should be that measurement plus 25%. Interior height should allow the dog to stand upright with a few inches of clearance. Width should let the dog turn around comfortably. Do not build oversized — in cold weather, the dog’s body heat warms the interior, and too much space means the shelter stays cold. Write these dimensions down before buying materials.
Entrance size matters too. The door opening should be about 75% of your dog’s shoulder height — tall enough to enter without ducking uncomfortably, small enough to limit wind and rain entry. A raised threshold, about 2 to 3 inches, keeps bedding inside and water out.
Materials That Last
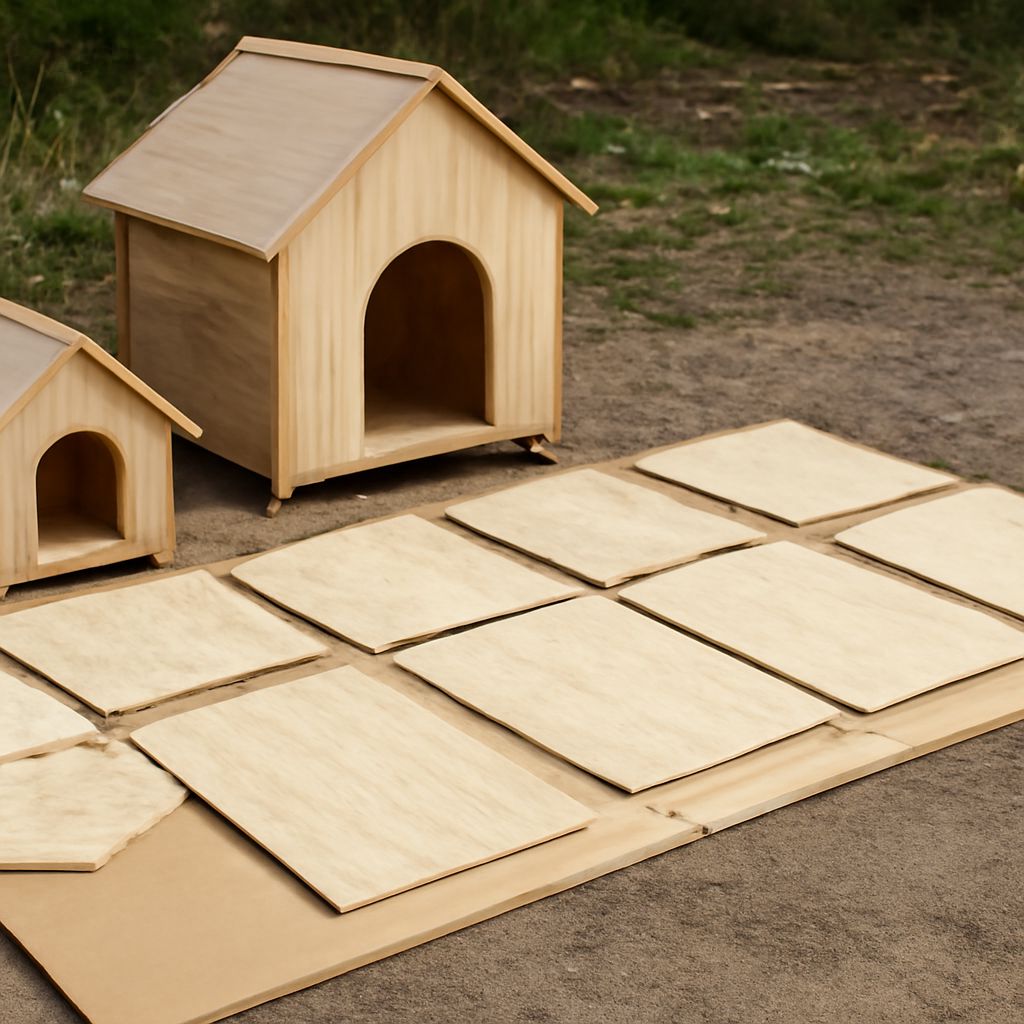
For a budget-conscious build, pressure-treated plywood (3/4 inch) on the exterior and standard plywood on the interior works well. Avoid using pressure-treated lumber on surfaces the dog touches directly — the chemical preservatives are not safe for prolonged contact. Cedar is a naturally insect-resistant option for interior framing and flooring. Exterior surfaces should be sealed with exterior-grade paint or sealant after construction.
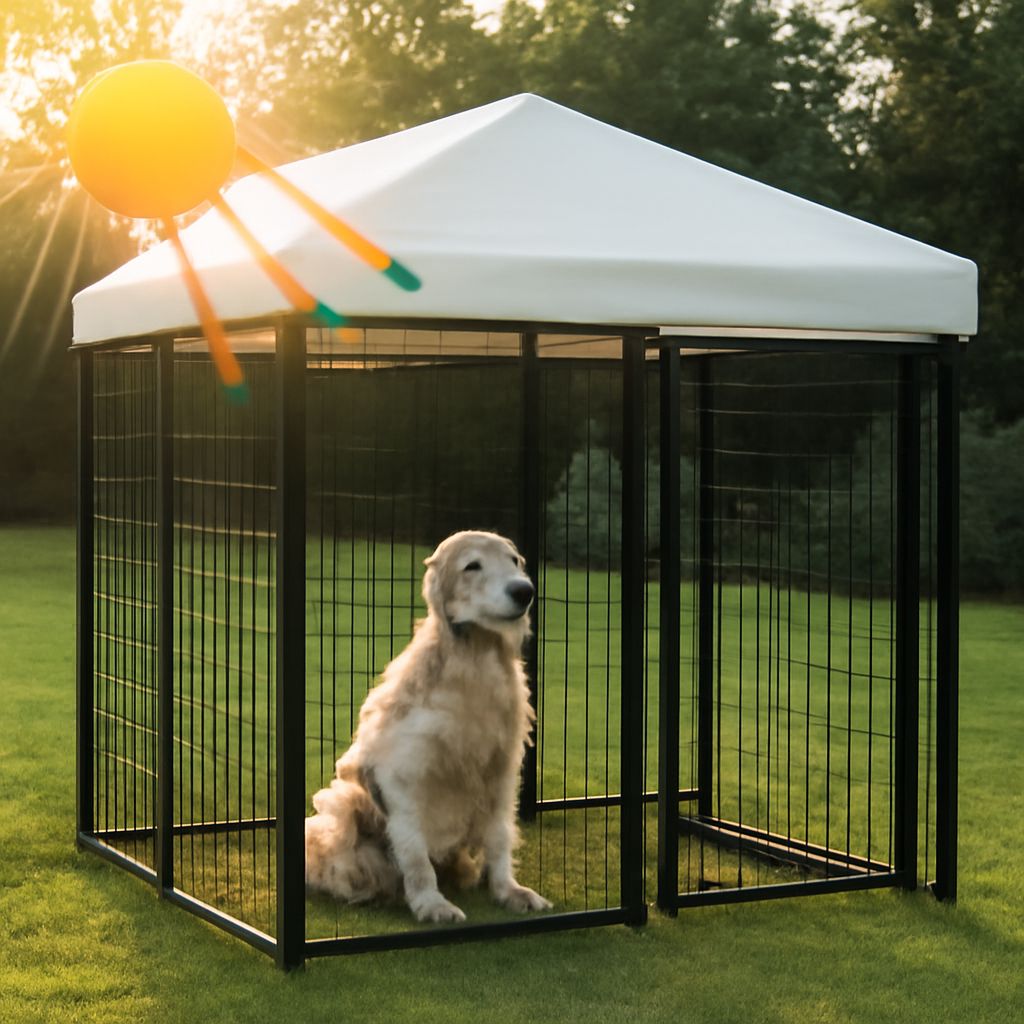
Roofing matters. Asphalt shingles cut from leftover roofing material, corrugated metal sheeting, or exterior plywood covered with tar paper all shed rain effectively. Build the roof with a pitch — flat roofs pool water and fail faster. A slight overhang of 2 to 3 inches on all sides keeps rain off the walls.
Assembly Steps
- Cut floor panel and raise it on 2×4 runners so it sits 2 to 4 inches off the ground
- Frame front, back, and side walls with 2×4 studs; cut the entrance opening in the front panel
- Fill wall cavities with rigid foam insulation board before attaching exterior sheathing
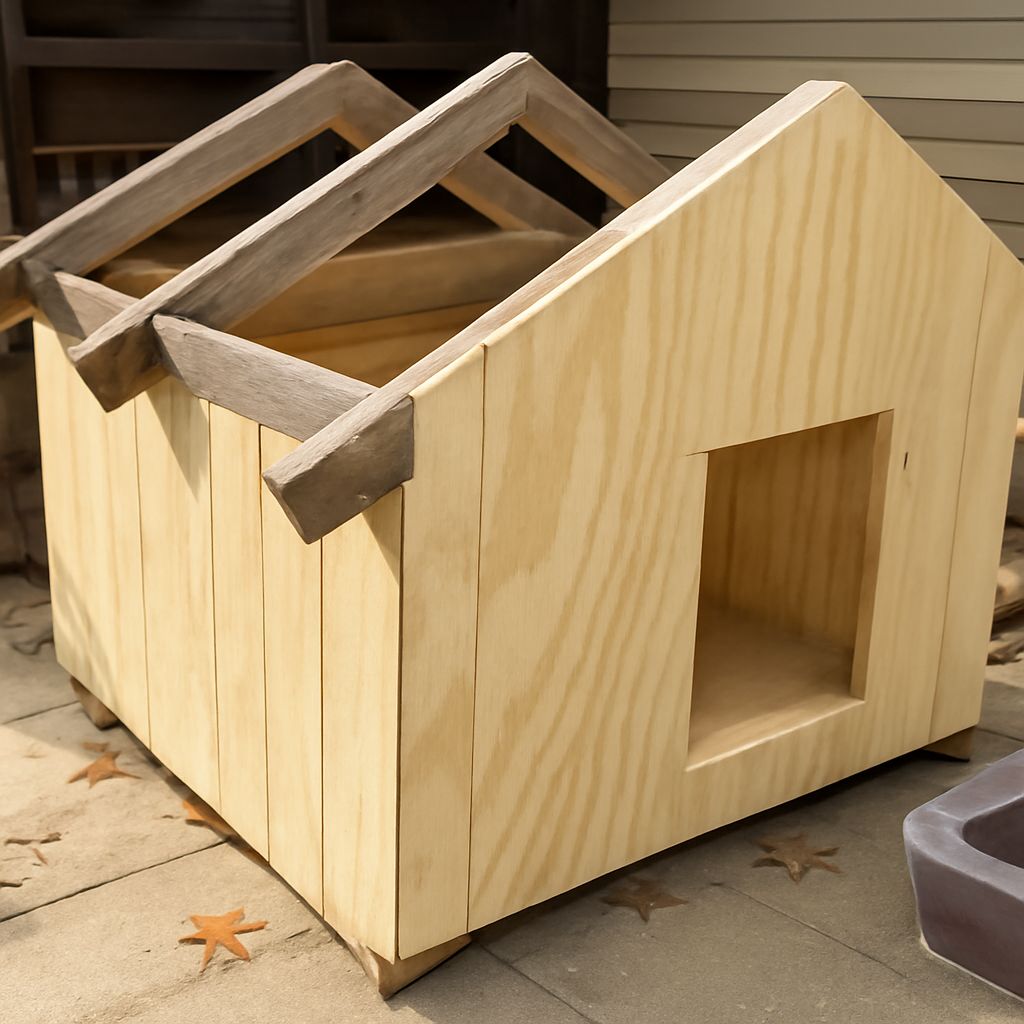
- Construct the roof frame with a center ridge board and angled rafters; attach roofing material last
- Sand all edges, seal with exterior paint, and let fully cure before placing outside
Key takeaways: Size the interior to your dog’s actual measurements, not a generic size chart. Use exterior-grade materials and seal all surfaces before the shelter goes outside. Insulation is not optional if the dog will use the structure in cool or cold weather.