Through Wall Dog Door: Installation, Sizing, and What to Know Before You Buy
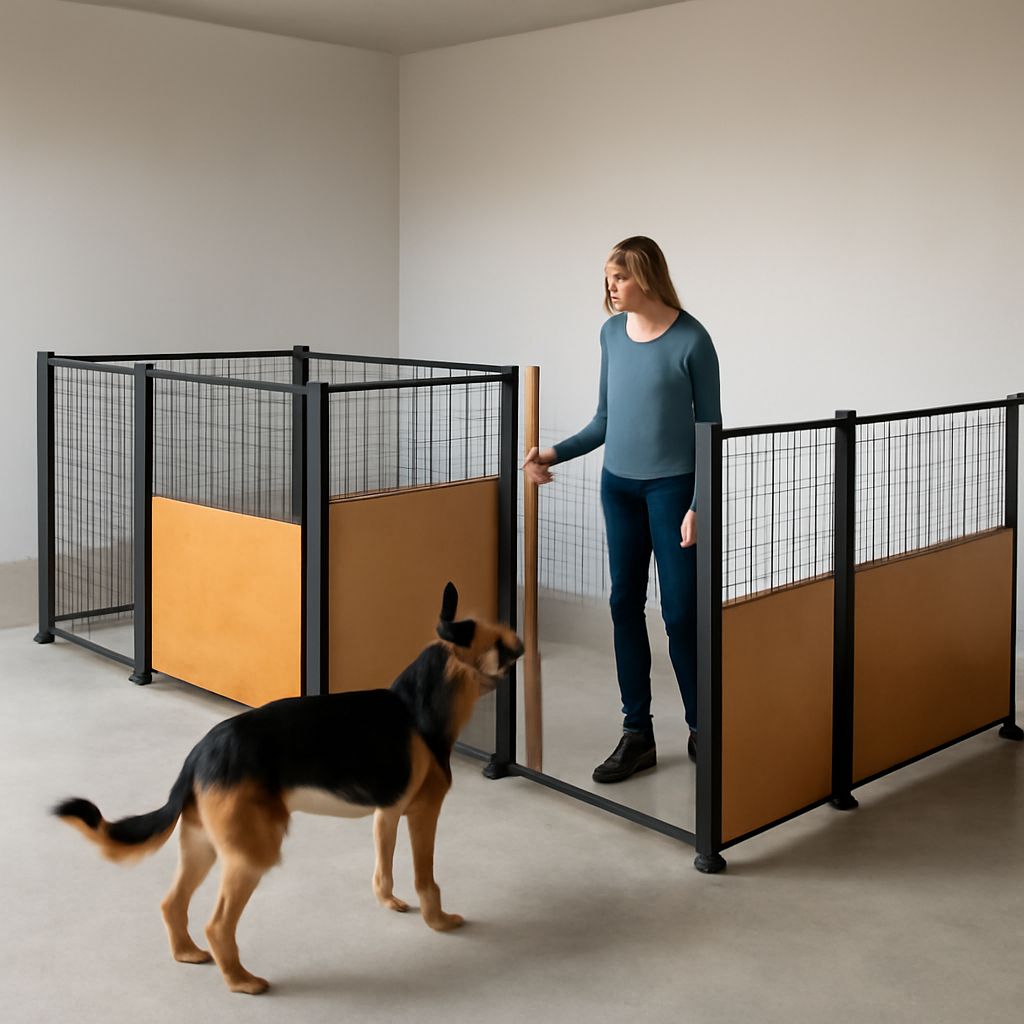
Installing a through wall dog door is a more involved project than fitting a pet door into a standard door panel, and many owners underestimate the difference before starting. Pet doors for walls require cutting through drywall, insulation, sheathing, and exterior siding, which means the installation process has more steps and more potential for error than a pre-framed door unit. An in wall pet door also needs a tunnel section that bridges the full wall thickness, which varies between three and six inches for interior walls and five to eight inches for exterior walls. A wall pet door sized for your dog at its current weight may become too small after growth, so accurate adult-size measurements matter before any cuts are made. A wall mount pet door offers benefits that justify the extra installation work: it does not compromise the structural integrity of a door, it can be placed at any height, and it works in walls that would otherwise have no exterior access.
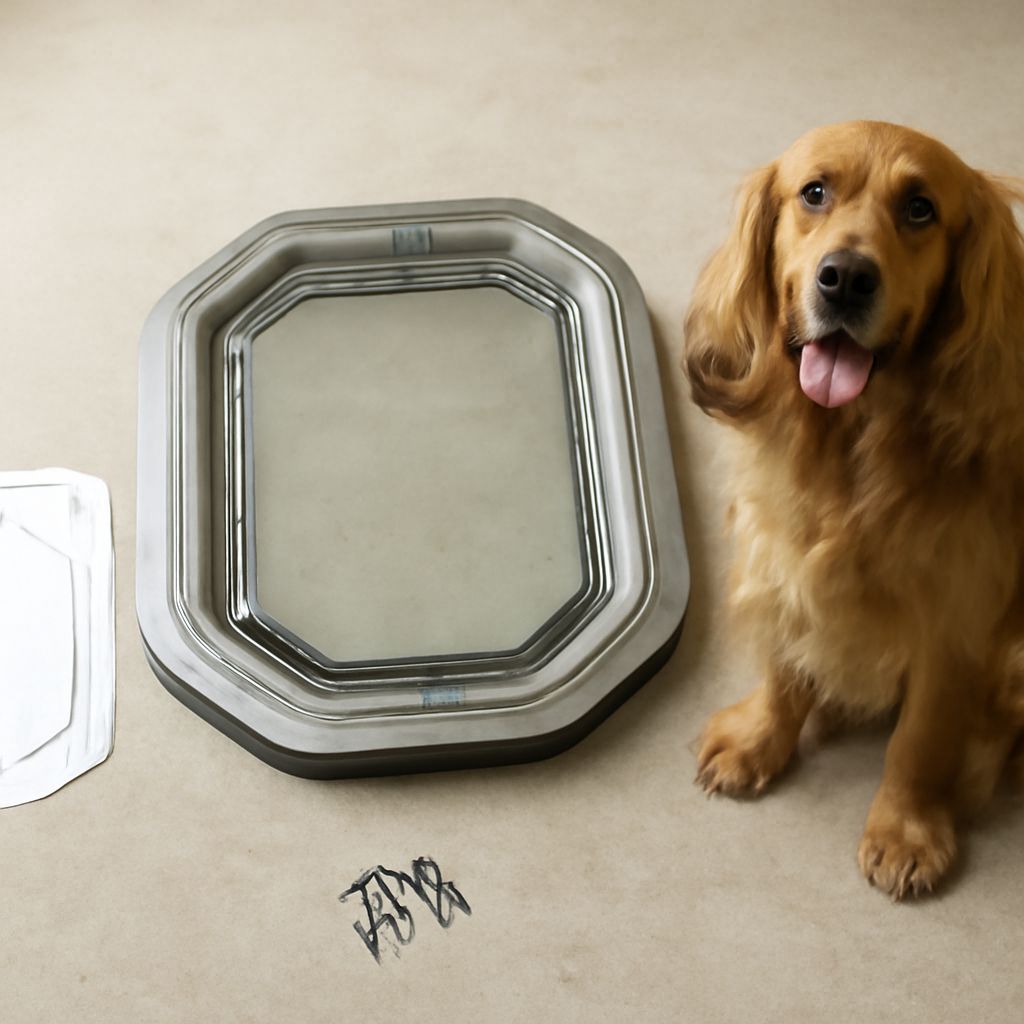
A second common assumption is that any pet door works for wall installation. Many pet door models are designed specifically for hollow-core doors and lack the tunnel section required for wall depth. Verify that the model you select is explicitly rated for wall installation before purchasing.
Choosing the Right Size and Location
Measuring Your Dog
Measure from the top of the dog’s shoulders to the floor, then subtract one inch. That dimension is the minimum flap height. For width, measure the widest point of the dog’s body, typically across the shoulders, and add one inch. Dogs that are still growing should be measured at their projected adult size using breed weight charts. A pet door through a wall that is too small at full size requires filling the hole and cutting a new one.
Selecting the Wall Location
Exterior walls between the house and a yard, garage, or enclosed porch are the most common choices for in-wall pet doors. Avoid walls that contain load-bearing headers above window or door openings without consulting a contractor first. Check for electrical wiring, plumbing, and HVAC ducts before cutting. A stud finder and a wire detector are minimum tools for the pre-cut assessment. Place the bottom of the door frame at a height the dog steps through comfortably, typically two to four inches above floor level to prevent moisture intrusion.
Installation Basics
Cutting and Framing the Opening
Mark the cut lines on the interior wall surface. Cut through the drywall, then use the same template to mark and cut the exterior surface. The opening in the exterior sheathing and siding must align precisely with the interior cut. Most wall pet door kits include a tunnel frame that slides into the opening from both sides and locks together. This tunnel must fit the wall thickness without gaps to prevent drafts and moisture intrusion.
Weatherproofing
Seal around the exterior frame with a paintable exterior caulk rated for the siding material on your home. Foam backer rod in gaps wider than a quarter inch prevents caulk bridging failures. A proper seal around a wall mount pet door keeps energy costs from rising significantly after installation. Most manufacturers recommend inspecting the seal annually, since exterior caulk degrades in freeze-thaw cycles.
Key takeaways: A through wall dog door delivers permanent, door-independent access that suits multi-entry homes and situations where exterior door placement is inconvenient. Size the opening to adult dimensions, verify wall contents before cutting, and weatherproof the exterior frame carefully to prevent long-term energy loss.